Repotting a plant is an essential step for maintaining the health of your plant. It helps to maintain the balance between roots and soil, as well as increase airflow around the roots. But how do you know when it’s time to repot? This article will cover all of the steps necessary to repot your plants including why they need to be potted, how often they should be repotted, and what tools are needed for this process. It will also discuss some tips on choosing a pot that fits your needs and avoiding common mistakes people make when repotting their plants.
Contents
- 1 Why Plants Need To Be Repotted
- 2 When You Should Repot Your Plant
- 3 Using The Right Pot
- 4 First Step: Have The Right Tools
- 5 Second Step: Remove The Plant From Its Pot
- 6 Third Step: Trim The Root Ball
- 7 Fourth Step: Remove Excess Soil From The Plant
- 8 Fifth Step: Add New Soil
- 9 Sixth Step: Water Your Plant
- 10 Conclusion
Why Plants Need To Be Repotted
There are a few reasons why potted plants need to be repotted. When you first purchase your plant, the roots have been confined in a pot for an extended period and have grown around the soil. Repotting helps to recreate this natural growth pattern by loosening the root ball so that the roots can grow into new soil as well as increasing the airflow around the roots. Repotting also ensures that your plant stays healthy and thriving by replenishing nutrients in the soil to keep it balanced.
When You Should Repot Your Plant
Different types of plants have different needs and knowing the type of plant you have will help you determine when to repot. Some good indicators that your plant needs to be repoted are yellowing leaves, weak or dying branches, dropping leaves, and the soil feels dry. If you notice any of these signs, it’s important to repot your plants as soon as possible and check for and treat any pests and diseases that may be the root cause. Another general rule, if the roots of a plant begin to inch over the top of the soil and show through holes in the pot, it’s time to repot. Repotting plants every 1-2 years is ideal for most plants.
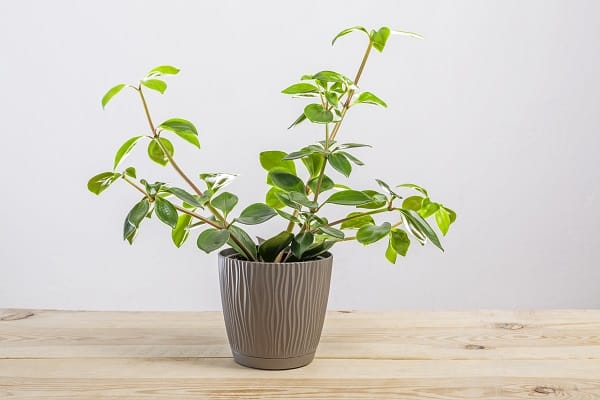
Using The Right Pot

Choosing the right pot for your plant is important to ensure they stay healthy and happy. When choosing a pot, it’s best to avoid using plastic pots because they don’t allow airflow and tend to cause root rot. The best kinds of pots are terracotta or clay pots with holes in the bottom for drainage. These pots allow the roots to absorb water while releasing any excess through drainage holes. Typically, a pot that is 1-2 inches larger than the current pot will be best for your plant. If you are repotting a succulent, make sure to choose one with enough room at the bottom of the pot so that it can sit flat on its bottom.
First Step: Have The Right Tools
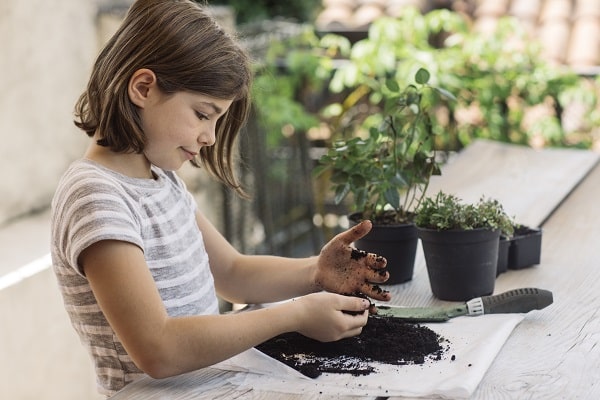
Before you repot your plant, make sure to gather all tools that will be necessary for this process. Keep in mind that some tools may need to be cleaned beforehand if they’ve been used with another plant material, such as soil and fertilizer. A toolkit should include:
- Soil
- Spade/shovel or hand shovel
- A spray bottle of water
- Scissors
- Newspaper
- Gloves
- Watering can
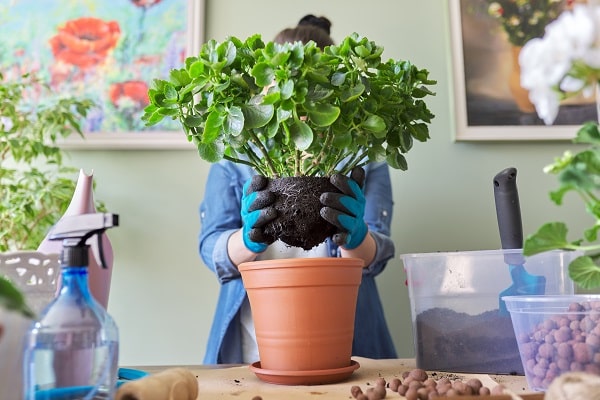
Second Step: Remove The Plant From Its Pot

Before you can repot your plant, it first needs to be removed from its current pot. For this process, place your potted plant on an even surface with plenty of room around it. Make sure to place a towel under the pot, as it can be very messy when removing soil. Use your spade/shovel or hand shovel to loosen the soil around the root ball by carving out a circle around it. Then lift up on the edge of the pot until you make an opening large enough for you to pull out the rootball.
Third Step: Trim The Root Ball

When you have successfully removed the plant from its pot, it’s time to remove excess roots. Examine the root ball by looking for exceptionally long roots that are twisted or circling too much. If these are present, you can carefully cut them with your scissors. Don’t forget to leave enough room around the rootball. Try to make it a nice, even root ball that will fill the space in your pot.
Fourth Step: Remove Excess Soil From The Plant

In most cases, the root ball of a plant is surrounded by an excessive amount of soil. This excess soil needs to be removed from the roots before you transplant it to its new pot. To do this, shake off as much excess soil as possible and then use your gloved hand to remove the remaining soil by gently squeezing it between your gloved fingers.
Fifth Step: Add New Soil
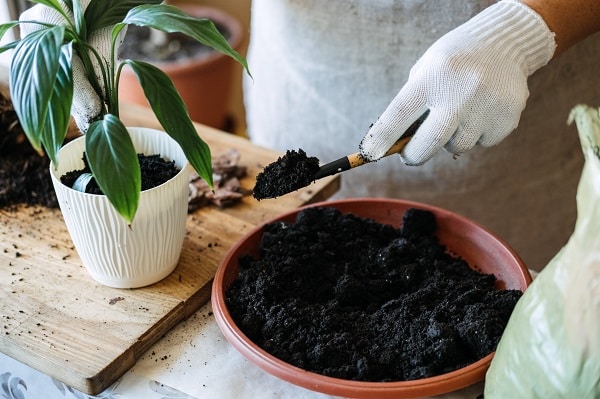
Now that you have removed most of the excess soil from around your plant’s roots, it’s time to add new soil. Open up a bag of potting soil and spread some on a surface such as newspaper. Be sure to mix the type of soil you choose with perlite, which will help aeration and drainage and prevent root rot. Once mixed, add the mixture to your new pot. Then, gently place your plant’s root ball into the center of the pot and backfill around it with more soil mixture.
Sixth Step: Water Your Plant

The last step is to water your plant. Make sure that the soil around the roots of your plant is thoroughly soaked, but not drenched or waterlogged. You can do this by slowly pouring on some water and giving the pot a good shake to help it absorb more evenly, or you can use a watering can. You may need to water your plant at least two more times before returning it to its place in your home or office.
Conclusion
Repotting can cause a lot of stress to your plant, so it’s best to only do it when necessary. You should also keep a close eye on your plant once you’ve repotted it. The best time for repotting is when your plant’s roots are visible near the edge of its pot. If you do need to move your plant to a bigger pot, be sure to follow these steps carefully. Your efforts will make it easier on both you and your plant!


