Cut Boards For The Sides And Bottom Of Your Bed Frame
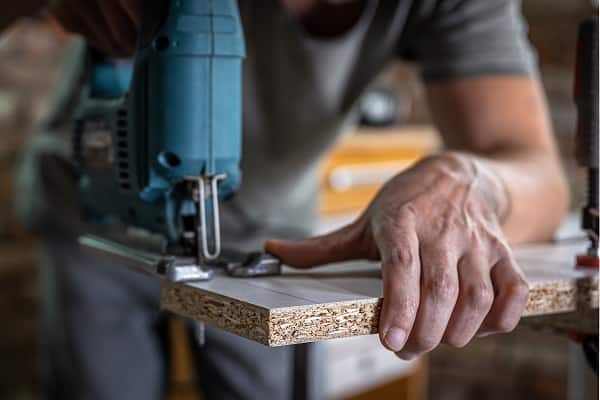
Once the posts are in place, you can start cutting boards to form the sides and bottom of your bed frame. The length of these boards should be equal to the height of one post plus six inches, and they should be as wide as the space between your posts. You will need two longboards and two shortboards for each side, so if your bed is four feet wide, you will need two six-foot boards and two four-foot boards. Cut the ends of each board at a 45-degree angle so they fit together snugly without gaps or spaces where the soil can escape from your bed. Then secure these boards together on each corner using nails or screws.
Add Boards For The Top Of Your Garden Bed Frame
The next step in making a raised garden bed is to cut boards for the top of your frame. You will need two longboards and two shortboards, as before, but you should cut the ends at a 22.5-degree angle, so they fit together as tightly as possible. When assembling these last pieces, you may want to use a drill to add screws or nails, so they fit together more securely.
Put Your Garden Bed Together

Now that the frame of your raised garden bed is complete, it is time to put it together! The first step is to level the bottom board by matching it up with the corner posts and placing three boards underneath it. You should cut these boards at a 22.5-degree angle, so they fit under the board evenly without slipping out. Once the first board is in place, you can start laying down boards for the next layer. To attach these boards to the frame, use four screws or nails on each side of the bed and one screw along each edge for extra stability.
Add A Layer Of Dirt Or Mulch
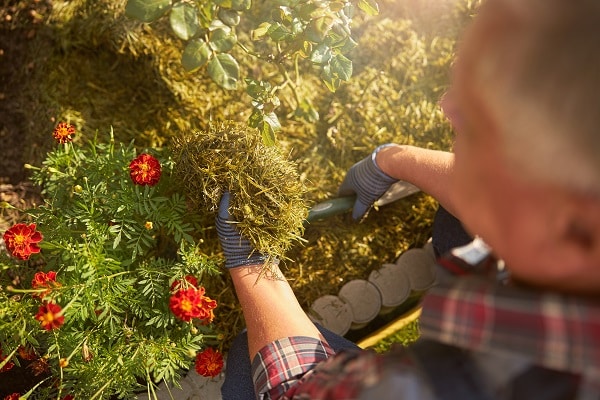
Now that your raised garden bed is complete, you can add a layer of dirt or mulch to the frame. This layer should be two feet deep, so the roots of your vegetables and herbs are not damaged when they grow larger. Leafy greens will need less space than root vegetables, so you should adjust the amount of soil accordingly if you have more space available and depending on the type of plants you plan to grow.
Conclusion
That is all there is to it! The steps in making a raised garden bed are easy, and the materials for this project cost very little. If you wanted to, you could even cut corners by using scrap wood or wood that no one wants anymore. Once your raised garden bed is built, you can start planting. If you live in an area where the soil is not accessible enough to dig, this is a good alternative because it makes growing vegetables and herbs significantly easier!